
TL;DR
Listen free for 30 days with Audible
Thousands of audiobooks and originals — cancel anytime.
Start your free trialAs an affiliate, we earn on qualifying purchases.
Filling a raised bed over caliche without proper drainage turns your garden into a bathtub. Breaking through the caliche with tools like a jackhammer, then creating drainage pathways, is the key to healthy roots and happy plants.
Breaking caliche with tools like a jackhammer or auger is the most reliable way to ensure proper drainage.
Avoid gravel at the bottom of beds — it causes perched water and worsens drainage issues.
Fill your raised bed with a well-mixed soil blend, not pure potting mix, for better stability and plant health.
Long-term, amend soil with organic matter and sulfur to manage high pH and calcium carbonate effects.
If caliche is impenetrable, deeper beds, containers, or wicking systems offer practical alternatives.
Why Caliche Turns Your Garden Into a Bathtub (And How to Spot It)
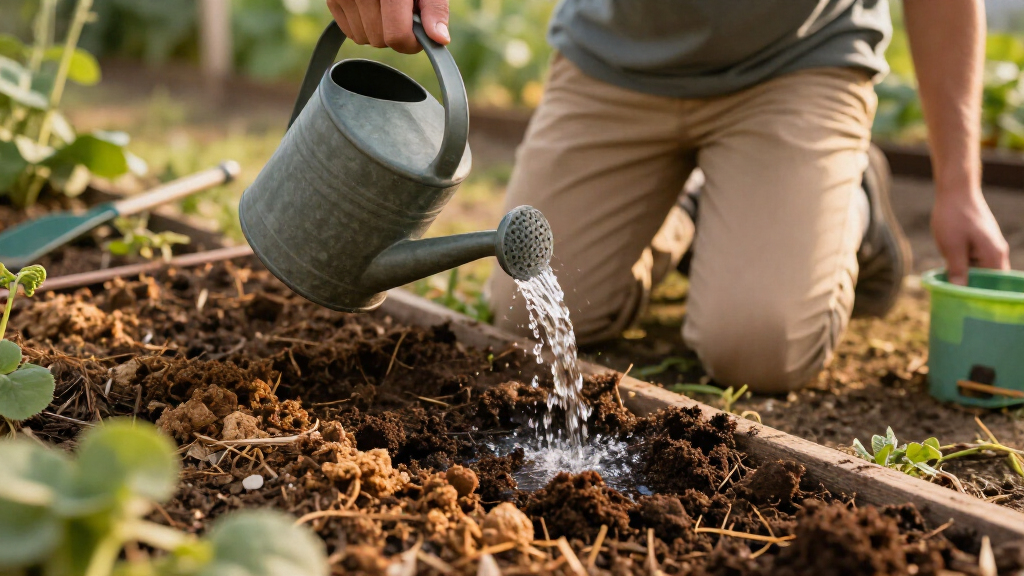
Caliche is a hard, cement-like layer of calcium carbonate often hiding just beneath the surface in desert soils. When you dig a hole or set a bed on top, water hits this barrier and can’t go down. Instead, it pools above the caliche, creating a perched water table that drowns roots. To spot it, do a simple test: dig a 1-foot hole, fill it with water, and see how long it takes to drain. If it stays wet or takes hours to soak in, you probably have caliche lurking below.
In real-world terms, I’ve seen beds in Phoenix where heavy monsoon rains cause water to sit in the root zone for days. The fix? Breaching the caliche so water can escape, not just pile up.
As an affiliate, we earn on qualifying purchases.
How to Break Through Caliche Without Breaking Your Back
Breaking caliche might seem daunting, but understanding the implications helps you approach it with confidence. When you drill or chisel through caliche, you’re creating pathways that allow excess water to escape, preventing waterlogging and root rot. The choice of tools—jackhammers, electric breakers, or heavy digging bars—dictates how quickly and effectively you can breach the layer. Using these tools ensures that water doesn’t remain perched above the caliche, which would otherwise cause persistent sogginess and hinder plant growth.
Spacing breach points every 2–4 feet ensures that water has multiple outlets, reducing the risk of pooling anywhere in the bed. Filling these channels with gravel or coarse mineral material maintains a clear pathway for water to flow out. Slope your bed slightly or add a French drain outlet to direct excess water away, which is crucial in preventing water from accumulating in the bed or nearby structures. This process, while labor-intensive, is a long-term investment in your garden’s health, reducing the need for frequent interventions and creating a stable environment for roots to thrive.
For example, I used a rental electric jackhammer on a bed in southern Arizona. It took an hour, and suddenly, water no longer sat on the surface after rain, demonstrating how effective mechanical breaching can be for ensuring proper drainage and plant health.
As an affiliate, we earn on qualifying purchases.
Why Gravel at the Bottom Is a Garden Myth (And What Works Instead)
Placing gravel or rocks at the bottom of your raised bed to improve drainage is a common idea, but it actually makes things worse. Gravel creates a perched water table — water gets trapped above the gravel layer, leading to more soggy roots. This is because water naturally seeks the path of least resistance, and a gravel layer can act as a barrier that holds water just above it, preventing proper drainage and causing roots to sit in constantly wet conditions.
Instead, focus on creating a continuous, uniform soil profile with a breached caliche base. By breaching the caliche and filling the bed with well-mixed soil, you establish a consistent drainage system that mimics natural soil layers. Think of it like filling a bathtub: the drain has to be open, not just a pile of gravel at the bottom. This approach minimizes water retention and promotes healthy root development, avoiding the pitfalls of perched water tables caused by gravel layers.
The tradeoff here is that breaching requires effort upfront but results in better long-term drainage and healthier plants. The myth of gravel at the bottom persists because it seems intuitive, but understanding how water moves through soil layers reveals why it’s counterproductive.
As an affiliate, we earn on qualifying purchases.
Choosing the Right Soil Mix for Your Over-Caliche Bed
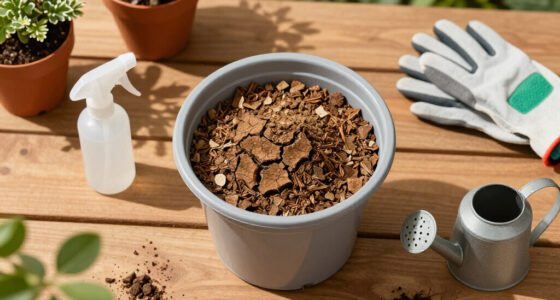
Skip the pure potting mix — it’s too light, dries out fast, and can slump. Instead, blend a mix of native soil, compost, and some coarse material. About 50/50 native soil and compost works well. If your native soil is very alkaline, add organic matter and sulfur to help lower pH over time.
For example, in my garden, I mix local sandy soil with garden compost and a handful of crushed granite. This blend supports healthy roots, drains well, and saves money compared to buying expensive soil. Bonus: it’s easier to amend as needed over the years.
Choosing the right soil is critical because it directly affects root growth, water retention, and nutrient availability. A poorly chosen soil mix can lead to compaction, poor drainage, or nutrient deficiencies, especially in challenging soils over caliche. Balancing native soil with organic amendments creates a resilient environment that supports long-term plant health, reducing the need for frequent fertilization or soil replacement.
As an affiliate, we earn on qualifying purchases.
Long-Term Tips for Managing Alkalinity and Soil Health
High pH and calcium carbonate can lock up nutrients, causing yellowing leaves and poor growth. To keep plants happy, add elemental sulfur or ammonium fertilizers to lower pH gradually. Organic matter like compost or mulches also helps buffer alkalinity. For iron chlorosis, chelated iron (Fe-EDDHA) works best in high pH soils.
In practice, I apply sulfur once a year and use chelated iron on my tomatoes. Over time, soil gets friendlier for plants, even over caliche. Consistently monitoring soil pH and adjusting amendments ensures that nutrients remain available, preventing deficiencies that can severely limit plant growth. Organic matter not only buffers pH but also improves soil structure, water retention, and microbial activity, all of which are vital for long-term soil health in challenging conditions.
Understanding the chemistry of your soil allows for targeted amendments, reducing waste and maximizing plant vitality. Patience is key; gradual adjustments prevent shock and support sustainable gardening in caliche-influenced soils.
When and Why to Use Deeper Beds, Containers, or Wicking Systems
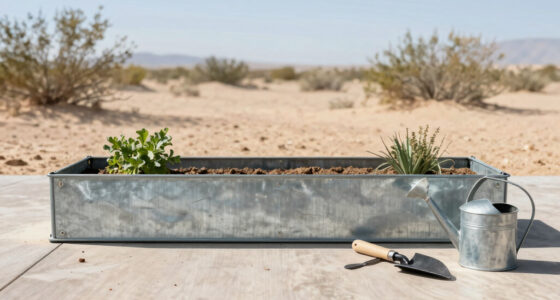
If caliche is too hard or thick to breach, consider options like deeper raised beds (24+ inches), containers, or wicking beds. These methods turn the caliche barrier into a water reservoir or a manageable container wall. They’re especially handy in areas with very thick or hard caliche layers.
For example, I built a wicking bed in a spot with two feet of caliche. It’s a miracle — plants get a steady supply of water, and I don’t have to break the layer at all. These systems work by bringing the root zone above the caliche or by creating a self-watering environment that reduces watering frequency and mitigates drainage issues caused by unbreakable caliche layers. They’re particularly valuable in extremely arid environments where water conservation and reliable moisture are critical. While more involved initially, these setups provide a sustainable solution for areas where mechanical breaching isn’t feasible or practical, ensuring plant health without extensive soil modification.
Frequently Asked Questions
How do I know if I have caliche, and how deep is it?
Look for a hard, crusty layer when you dig. A simple test: fill a hole with water and see how long it takes to drain. If it’s slow or stays wet for hours, caliche is probably below. It can sit from just inches to several feet deep, depending on your location.
Do I have to remove the caliche, or can I just build on top?
Building directly on unbroken caliche leads to poor drainage and root drowning. Breaching it with tools creates a pathway for water. Removing it entirely is impractical; breaking it in place is the best approach for most gardeners.
Should I put gravel at the bottom of my raised bed?
No. Gravel causes perched water, trapping moisture above the layer. Instead, break the caliche and fill with a uniform soil blend that drains freely.
What’s the easiest way to break through caliche?
A rented electric jackhammer or heavy-duty auger makes quick work of caliche. Water alone won’t soften it — mechanical force is necessary for reliable breaching.
How many drainage chimneys do I need?
Place holes about every 2–4 feet across your bed, ensuring each one is wide enough for water flow. Regularly check for clogging, and backfill with coarse material to keep pathways clear.
Conclusion
Your garden’s health hinges on good drainage. Breaking through caliche creates a clear path for water to escape, transforming a stubborn layer into a garden asset. It’s a simple move that pays off with lush, thriving plants in even the toughest soils.Fall Picks
fall essentials
As an affiliate, we earn on qualifying purchases.