TL;DR

Get garden gear delivered free — and shop member deals
- Fast, free delivery on millions of items
- Access to Prime Big Deal Days deals on October 6–7
- Prime Video, Amazon Music and more included
Flushing drip lines before monsoon prevents clogging caused by debris and algae, ensuring efficient watering during heavy rains. A 20-minute routine keeps your system in top shape with minimal effort.
Monsoon season hits like a tidal wave — heavy rains, windblown dirt, and algae lurking in your drip lines. If you want your garden to soak up the rain, not your irrigation system, a quick 20-minute check before the rains start can save you headaches later. Think of it like giving your system a breath of fresh air, clearing out the gunk that causes clogs and uneven watering.
In this guide, you’ll learn the simple steps to flush your drip lines, why it matters, and how a few minutes now can keep your plants happy and your watering system running smoothly all season long.
A 20-minute pre-monsoon flush can prevent clogging and improve watering efficiency.
Regular flushing extends the lifespan of drip components by up to 30%.
Use filters and screens to reduce debris entering your system.
Inspect and replace damaged emitters promptly to avoid uneven watering.
Consider smart irrigation tools for easier, more precise maintenance.
Why Flushing Drip Lines Before the Monsoon Matters
Flushing your drip lines before heavy rains kick in is like giving your garden a clean bill of health. Debris, dirt, algae, and mineral buildup sneak into lines over time, especially if your system sits unused for a spell. When the monsoon arrives, these blockages can turn your efficient drip system into a trickle or a mess.
Imagine a garden bed where half the emitters sputter or drip unevenly during a downpour. That’s slow, inefficient watering—plants suffer, weeds thrive, and you waste water trying to compensate. Regular flushing clears out this debris, making sure water flows freely when your plants need it most.
For example, after a dry summer, a quick 20-minute flush can revive clogged emitters, saving you from replacing them later or battling uneven watering.
As an affiliate, we earn on qualifying purchases.
What You Need to Flush Your Drip Lines (Tools & Supplies)
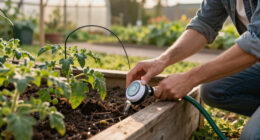
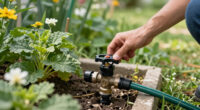
Flushing your drip lines doesn’t require fancy tools—just a few basics. A garden hose connected to your faucet, some flush valves or end caps, and a small brush or screwdriver are enough. If your system has filters, have those handy for cleaning too.
For example, a typical setup might include a short section of hose, a flush valve, and a bucket to catch any debris. Keep in mind: safety first. Wear gloves and eye protection if you’re dealing with stubborn clogs or using cleaning solutions.
As an affiliate, we earn on qualifying purchases.
Step-by-Step: How to Flush Your Drip Lines in 20 Minutes
- Turn off your irrigation system. You don’t want water running through the lines while you work.
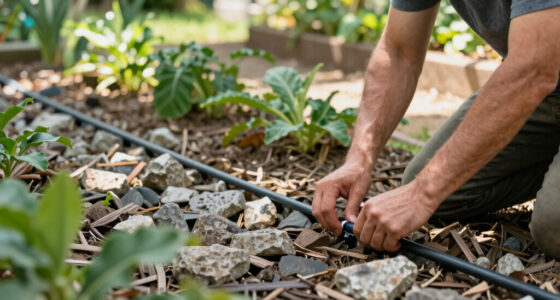
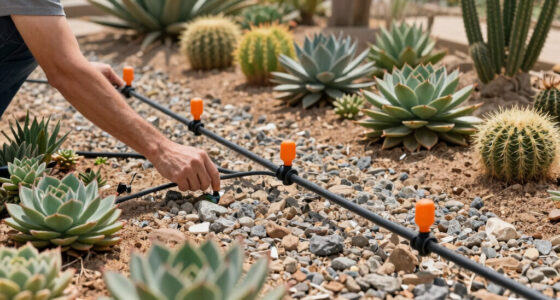
- Remove or open the emitters or drip lines at key points. If you can, detach sections for easier access.
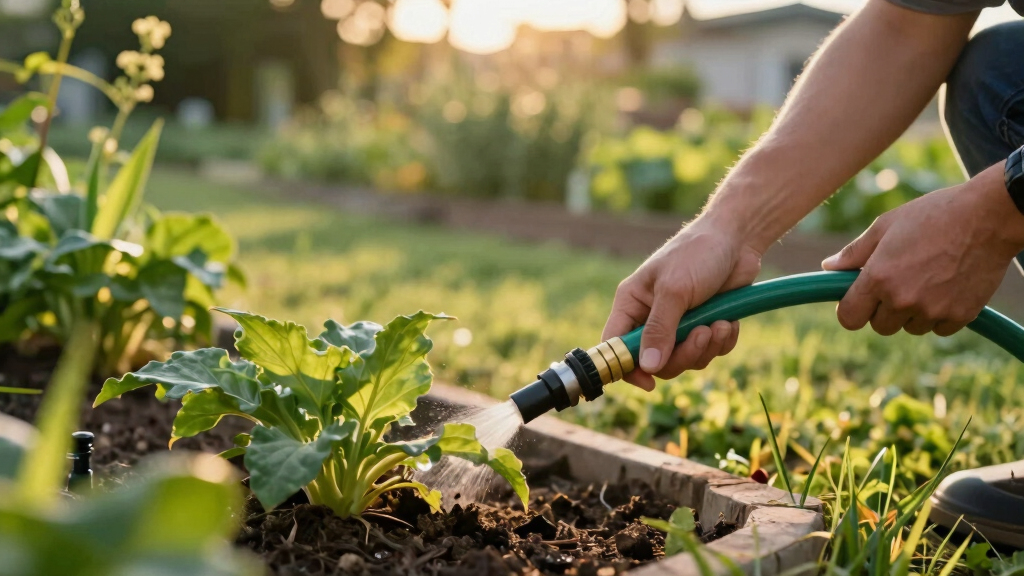
- Connect your garden hose directly to the mainline or a flush valve. Turn on the water slowly to avoid pressure spikes.
- Flush each line for 1-2 minutes. Watch for debris or muddy water coming out, then move on.
- Clear any visible debris with a small brush or screwdriver. If you spot algae, consider flushing with a vinegar solution.
- Reattach emitters or reconnect lines. Turn the system back on and check for leaks or irregular flow.
For example, if you have a 50-foot garden bed with multiple emitters, spend about 2 minutes per section—quick, thorough, and effective.
As an affiliate, we earn on qualifying purchases.
Comparison: Flushing vs. Replacing Drip Components
| Flushing | Replacing |
|---|---|
| Quick and inexpensive; takes about 20 minutes. | More costly; involves purchasing new emitters or lines, and more time. |
| Removes debris and algae; extends system life. | Necessary if components are damaged or thoroughly clogged. |
| Ideal as routine maintenance before each season. | Best for damaged, cracked, or severely clogged parts. |
irrigation system maintenance tools
As an affiliate, we earn on qualifying purchases.
As an affiliate, we earn on qualifying purchases.
Quick Tips to Keep Drip Lines Clear All Season
- Install high-quality filters and clean them monthly.
- Use a screen or mesh at the water source to catch debris.
- Flush lines regularly—at least once every season or after heavy storms.
- Avoid overwatering; let the system dry out between uses to prevent algae growth.
- Inspect emitters for damage and replace any that look clogged or cracked.
Recent Tech & Trends Making Flushing Easier
Smart irrigation systems now include sensors that detect clogging and notify you when maintenance is due. Some models even automate flushing routines, saving you time.
Better filters and screens trap more debris, reducing the need for frequent cleaning. Eco-friendly cleaning methods, like vinegar solutions, help keep your system healthy without harsh chemicals.
For example, a gardener using a smart system reported a 40% reduction in clog-related issues after switching to advanced filters and scheduling regular flushes.
Frequently Asked Questions
How do I know if my drip lines need flushing?
If your plants aren’t getting consistent water, or if you notice muddy or clogged emitters, it’s time to flush. Reduced flow or uneven watering are clear signs you should give your lines a clean.Can I flush drip lines without removing the emitters?
Yes, many systems are designed for in-place flushing. Connecting your hose to the mainline and opening flush valves can clear debris without detaching emitters, saving time and effort.What’s the best way to remove algae buildup?
A mixture of equal parts water and white vinegar works well for minor algae. Let it sit in the lines for a few minutes before flushing thoroughly with clean water. Always wear gloves and eye protection.How often should I flush my drip lines?
Ideally, before each major season—especially before monsoon or after heavy storms. Regular checks every few months can prevent buildup and keep your system running smoothly.What if flushing doesn’t clear the clog?
If debris stubbornly remains, consider replacing damaged emitters or consulting a professional for a deeper cleaning. Sometimes, a complete line replacement is the only fix.Conclusion
Don’t wait for clogged emitters or uneven watering to hit you. Spend just 20 minutes now, and your drip system will thank you all season long. Think of it as giving your garden a quick tune-up—simple, fast, and vital for healthy plants.
Next time heavy rains roll in, remember: a little prep today keeps your garden thriving tomorrow. Your plants, and your watering system, will thank you for the effort.
Fall Picks
fall essentials
As an affiliate, we earn on qualifying purchases.